Getting started with Cloth Simulations
Tools Used
All listed tools, procedural and overrides can be found in Uniform's gallery

Pin Simulation Kernel Deformer

Simulation

Pose Deformer
This is how you can get started with cloth simulations using Uniform’s simulation component. Simulations allow you to effortlessly add intricate details to your models that would be difficult to achieve manually.
The quickest way to generate a simulation is by using the Pin tool. This tool locks the vertex under the cursor and simulates the rest of the mesh as you drag. You can also hold down the M2 shortcut and use a box selection to isolate specific parts of the mesh, ensuring only the selected areas are influenced by the simulation.
To create more interesting cloth effects, you can apply simulations to any deformer tool, such as the Move tool or the Transform gizmo. Open the Gallery, search for the Simulation Override, and select it. This action adds several modules to the Global Override list, where you can configure the simulation settings.
Once set up, you can use any deformer tool to generate cloth effects based on the simulation parameters defined in the Global Override list. For instance, you can adjust the damping to allow the cloth to flow more naturally with movement, or introduce gravity and floor collisions.
When you’ve finished, use the Clear Modules button in the Global Override list. This will remove the additional simulation modules from all tools, restoring them to their default behavior.
More Tutorials

Create Stylized Hair using GeoCurve

Dynamic brush effects with Brush Overlay modules
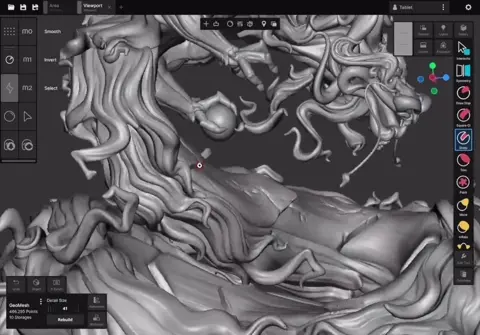
Introduction to High Poly Sculpting

Introduction to SDF modelling with SolidVolume

Prepare Uniform scenes for 3D Printing
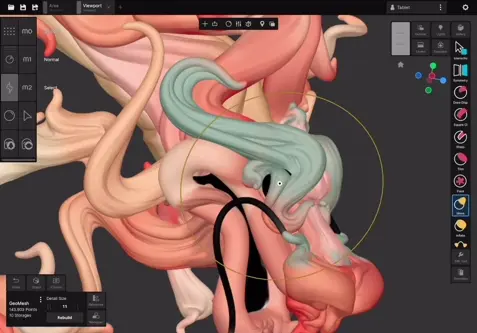
Advanced Sculpting features overview

Creating knots with Rope Simulations
