Introduction to High Poly Sculpting
Tools Used
All listed tools, procedural and overrides can be found in Uniform's gallery

Square Clay Displacement Brush

Sharp Displacement Brush

Trim Displacement Brush

Move Delta Deformer

Elastic Delta Deformer

Scene Transform Delta Deformer
This is how you can get started with high-poly sculpting in Uniform. We’ll cover the basic features you’ll use most frequently during the sculpting process. If you’re completely new to 3D art, focusing on these features first is an excellent way to begin, as you don’t need to dive into more complex tools to create visually appealing artwork.
Your main sculpting brushes can be found in the bar launcher. In Uniform, these are referred to as Surface Displacement Brushes. After selecting any of these brushes, you can use the pencil over the mesh to apply the base effect of the brush. Hold down the M1 button to invert the direction of the displacement or hold down M0 to smooth the surface.
You can adjust the radius and strength of the brush using touch shortcut controls. Additionally, you can change the radius by dragging three fingers on the screen or by holding down the B key on a hardware keyboard.
Next, there’s the Paint Brush, which you can use to add color to your model. You can change the painting color in the widget at the top right of the screen or by using the color pickers that appear when holding down the UI layer shortcut. Hold down M0 to smooth the color and M2 to sample colors from the model.
Following this, there are three yellow tools. These are called Deformers and are designed to alter the overall shape of the object. Each tool produces a different effect.
The last tool is the Scene Transform tool. This tool allows you to reposition objects in the scene without deforming them.
You can add more objects to the scene from the Add Panel. Select any of the Procedural Mesh presets, which will create a new object with adjustable gizmos to modify its shape. If you want to sculpt on the object, select “Apply as GeoMesh.”
To switch sculpting between different objects, simply tap with a finger. Alternatively, you can hold down the “Select” shortcut and tap with the Pencil to achieve the same result.
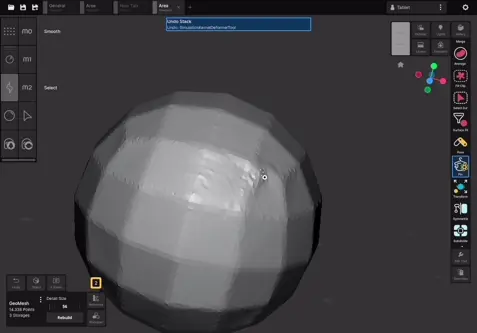
After sculpting for a while or performing large deformations, you may notice that the polygons become too stretched, and brushes start to produce artifacts. To fix this and continue sculpting, use the Rebuild button in the Surface Information widget. The control above this button allows you to adjust how much detail you want to preserve.
You can toggle the symmetry of the last selected object by using the X Symmetry button.
Finally, you can use the Outliner Inspector to organize your scene, rename, duplicate, and delete objects. All options for an object can be found in the options menu of its Outliner entry.
More Tutorials

Create Stylized Hair using GeoCurve

Dynamic brush effects with Brush Overlay modules
Getting started with Cloth Simulations

Introduction to SDF modelling with SolidVolume

Prepare Uniform scenes for 3D Printing
Advanced Sculpting features overview
