Dynamic brush effects with Brush Overlay modules
Tools Used
All listed tools, procedural and overrides can be found in Uniform's gallery

Square Clay Displacement Brush

Paint Color Brush
This is how you can create more interesting brushes and add dynamic effects to your strokes using the Brush Overlays modules in Uniform. We will create a series of effects for sculpting and painting brushes to develop a comprehensive understanding of this feature.
Brush overlays dynamically modify the parameters of a brush’s action during a stroke. For instance, brush overlays are the modules responsible for adjusting the brush radius or opacity based on pen pressure.
If you open the module editor of the default Square Clay Displacement Brush, you will notice that the Brush Overlay stack includes a Pressure module by default. These curves map the input pen pressure to variations in brush radius and effect intensity. If you remove this module from the stack, the brush will no longer respond to pressure. Now, add an Invert Brush Overlay to the stack. By default, the brush will be inverted.
Let’s create some examples using the default Paint Brush preset. In this case, remove the Pressure overlay and add a Jitter module. As the target property, select Color Hue. Adjust the Jitter intensity to achieve subtle color variations during the stroke. You can add more Jitter modules with different settings to simultaneously tweak the saturation and value of the color.
Next, delete all the modules and add a Distance Oscillator. This Brush Overlay will continuously change a value as the stroke progresses. The period controls the stroke distance over which the value will loop. Set the period to 10 and the amplitude to 1 to observe the effect.
Now, set the oscillator shape to square. This will dynamically alter the radius by multiplying it by 0 and 1, creating dashed strokes.
Finally, switch the oscillator to a triangle shape and set the target property to Color Hue. This will generate a rainbow brush effect.
If you wish to experiment with brush overlays without affecting your working presets, you can manually add a brush overlay stack to the Global Override List. Use the Clear Modules button once you are finished to restore the original behavior of all brushes.
More Tutorials

Create Stylized Hair using GeoCurve
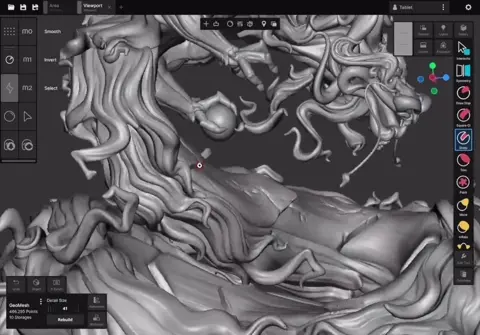
Introduction to High Poly Sculpting
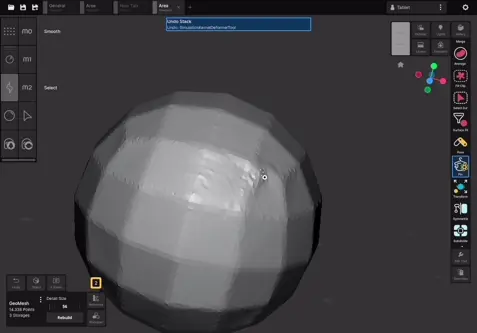
Getting started with Cloth Simulations

Introduction to SDF modelling with SolidVolume

Prepare Uniform scenes for 3D Printing
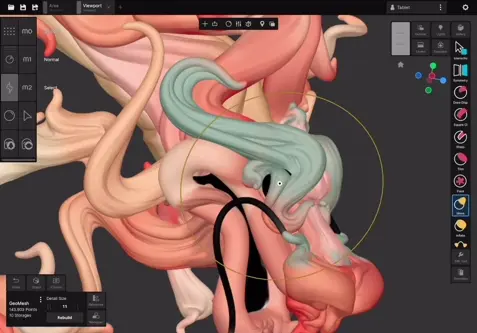
Advanced Sculpting features overview

Projection Painting using Stencils
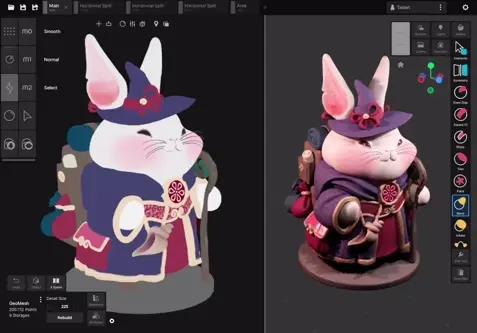
Using References to share colors and materials

Viewport Shading with Surface Views
