Advanced Sculpting features overview
This is how you can access common sculpting features for creating more complex projects in Uniform. If you have experience with high-poly sculpting and know the basics of high-poly sculpting in Uniform, this guide will include a short overview of each feature so you can quickly find what you’re looking for to get started with your projects.
You can access all symmetry settings in the Object Inspector. Here, you can see both per-axis and radial symmetry settings. Alternatively, you can change an object’s symmetry settings in a more visual way using the Symmetry Tool. Tap on one of the circles to enable symmetry on that axis.
Uniform uses a system called Surface Views to control the viewport shading. Hold down the Surface View shortcut and drag left and right with the pencil to change the viewport shading mode. You can preview shapes with maximum contrast, shapes with painted colors, or unlit colors.
You can control which vertices are affected by the tools using Selection. By default, the whole mesh is selected, so you can sculpt and paint anywhere. While using a displacement brush, hold down the M2 button to start drawing a selection over the mesh. With the selection defined, only the selected vertices will be affected. While holding down M2, draw a line downward over empty space to invert the selection or draw a line upward to select the entire object. Uniform includes many tools to generate and tweak selections, such as filters, expand, selection by mesh features, clipping gestures, and more.
Note that the way selections are displayed in the viewport changes depending on the Surface View shading mode. If you are in a mode that prioritizes contrast and shapes, the selection will be drawn with a black-and-white gradient. If you are using a Surface View that previews colors, the selection will be drawn as a dotted line to avoid interfering with color visualization. This only affects how the selection is rendered in the viewport—tools will work exactly the same.
You can use the Transform Delta Deformer to move parts of the object. Use this tool in combination with the previously explained selection to control the deformations. Note the difference from the Scene Transform Tool: the Scene Transform Tool moves objects in the scene by modifying the instance transform, while the Transform Delta Deformer moves the object’s vertices without modifying the local space.
You can organize your meshes with regions to control the effects of the tools and get quick access to partial visibility. Create new regions using the Region Draw Clip Tool. Draw over the mesh or create a gesture selection by starting the stroke outside the object to create a new region. You can then use the Object Visibility shortcut to toggle partial visibility. Hold down the shortcut and tap on a region to isolate it. Draw a line downward over empty space to invert the visibility. Draw a line upward to show the whole object. Uniform also includes many features to define regions and modules to further control the tools using them.
Tools to modify the mesh topology destructively with a single operation are under the Layout category. Here, you can find operations such as destructively subdividing, resymmetrizing, or flipping a mesh. These tools are used by clicking and dragging in the viewport to confirm the operation. Here, you can also find the Trim Tool to cut parts of the model by dragging a shape in the viewport.
You can use layers for both displacement and color. Layers are managed in the Layer Inspector. By default, all brushes modify the base layer. You can create more layers to organize your work with the Add Layer button. The default layer for sculpting and painting is the Canvas Layer, which can store both displacement and color information. You can also create Displacement Layers and Color Layers. These layers will store only displacement or only color information, giving an error if you try to use an incompatible tool. You can use this feature to prevent unintended editing of the incorrect layer while sculpting.
Finally, you can access subdivision-based sculpting by converting the object to a Subdiv GeoMesh. If you are using the Tablet profile, this is available from the Surface Information widget. You can also access this same feature by using the Object Convert Tool. After converting a GeoMesh object to a Subdiv GeoMesh, you can subdivide the mesh from the widget and move up and down in resolution levels, smoothly propagating the sculpted details, colors, and layers. You can also directly jump to a different subdivision level using the Surface Rebuild Tool. Note how the Surface Rebuild Tool changes from remeshing the object to switching levels when using a different object type.
While using a Subdiv GeoMesh object, Layout tools like trimming or symmetrizing are unavailable. You can convert the object back to a GeoMesh at any time. This will remove all non-active subdivision levels and convert the current one to a GeoMesh. Now, Layout tools work again, and you can use the Surface Rebuild Tool to remesh the object to the desired detail size.
More Tutorials

Create Stylized Hair using GeoCurve

Dynamic brush effects with Brush Overlay modules
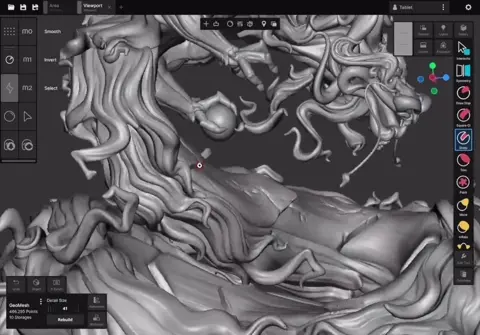
Introduction to High Poly Sculpting
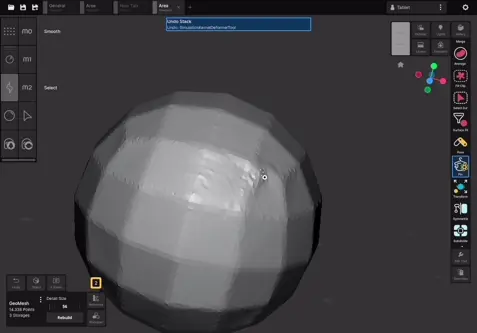
Getting started with Cloth Simulations

Introduction to SDF modelling with SolidVolume

Prepare Uniform scenes for 3D Printing
